Monitoring results effectively is crucial for maximizing the benefits of using Elastic Personas. This guide outlines the key strategies and best practices for tracking performance and outcomes within your Elastic Personas project
You have multiple options here in result section:
- Results: Contain all information and data about the project.
- Info: Contain information about the project, e.g who created it, number of questions, shared links and CSV downloads etc.
- Respondents: Contain all respondents who participated in your research. This is where most of the customized personas will be generated.
- Personas Summary: Contain generated personas based on the data we gathered.
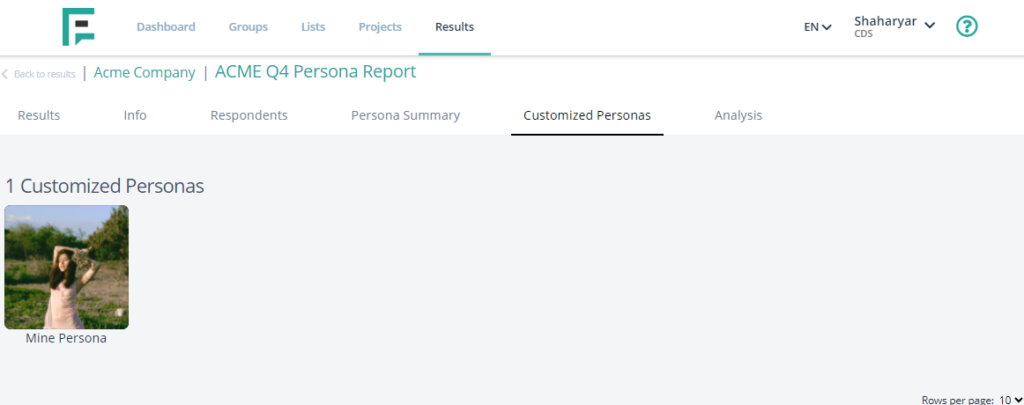
- Customized Personas: Contain all customized personas generated from the results.
- Analysis: Algorithms you can analyze and dissect the data across multiple dimensions, allowing you to find any specific details.
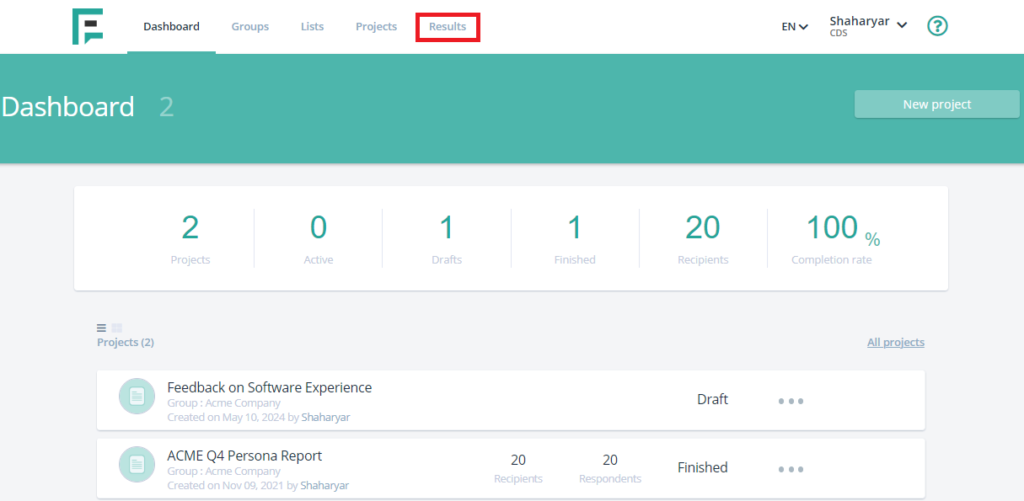
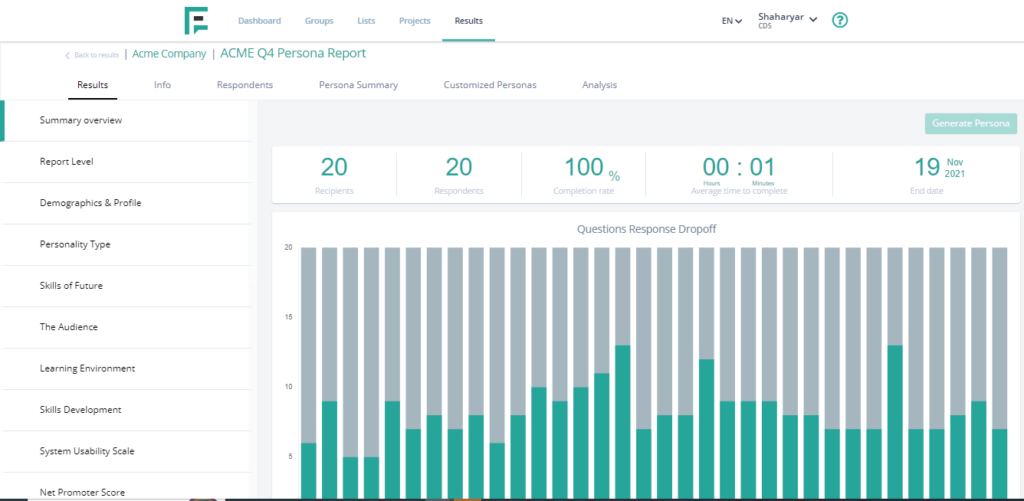
Results
- Click the Results section.
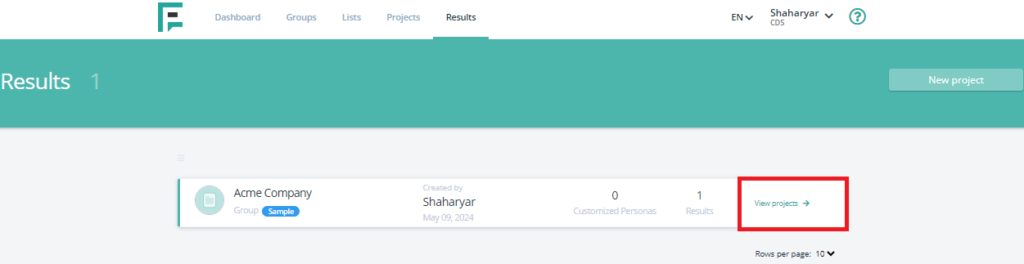
- Click the specific project whose results you want to monitor by selecting View projects.
- Click on View results to access the complete results.
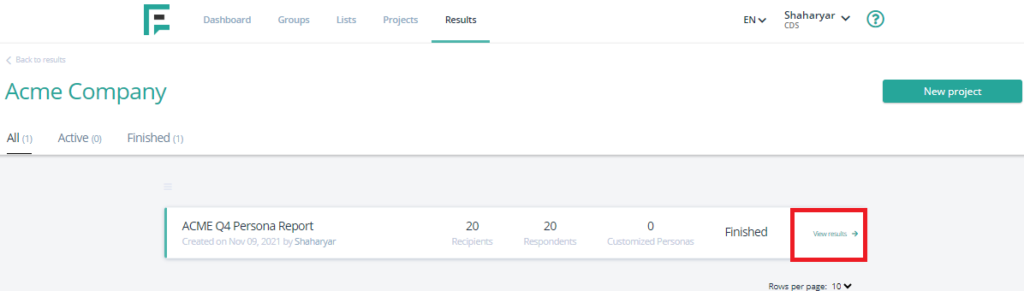
- From this section, you can monitor the entire results Summary Overview.

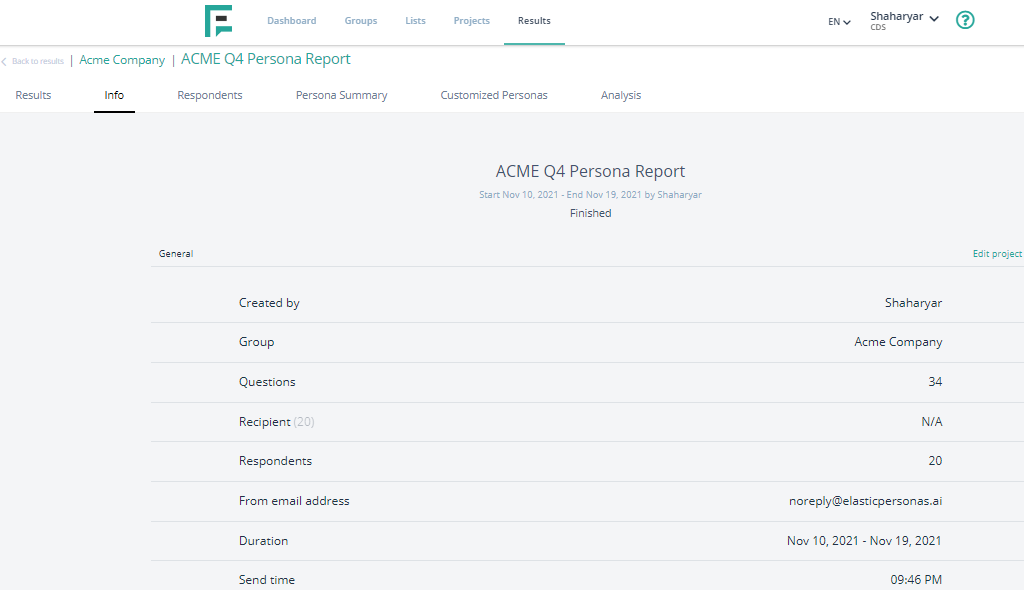
Info
- Click Info, you can monitor general account information in this section, and copy the results directly from here. You can also edit the details by clicking the edit project option available on the right side.
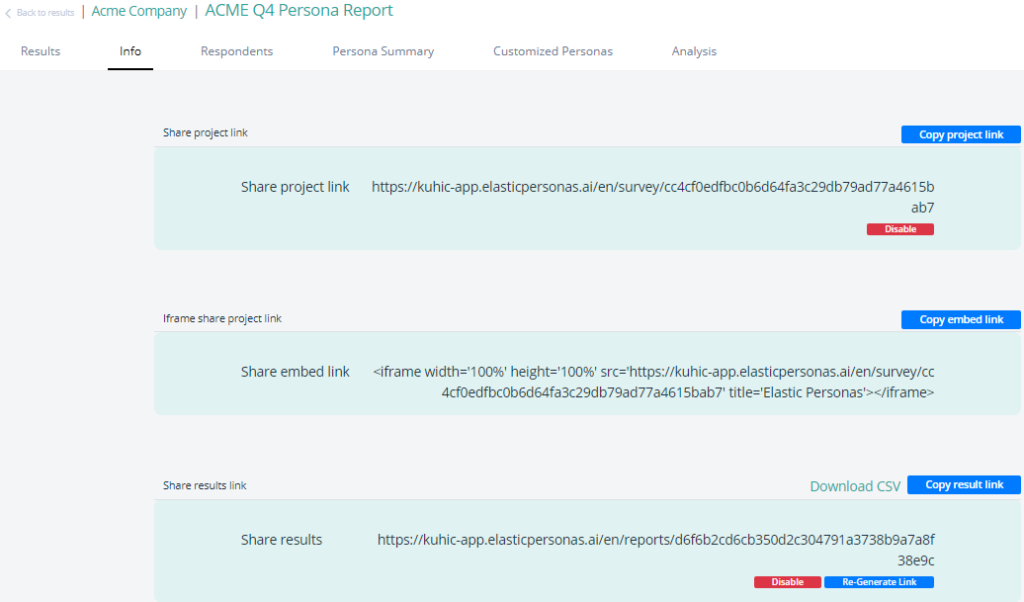
- Scroll down the page to find three types of shareable links:
1. Share Project Link: This link allows you to share the project directly with users or anyone you wish to grant access.
2. Iframe Share Project Link: This link lets you embed the project personas on a website.
3. Share Result Link: This link enables you to share the complete results with anyone, allowing them to view the results without logging into an Elastic Persona account. Users can see the results with limited access through this link.
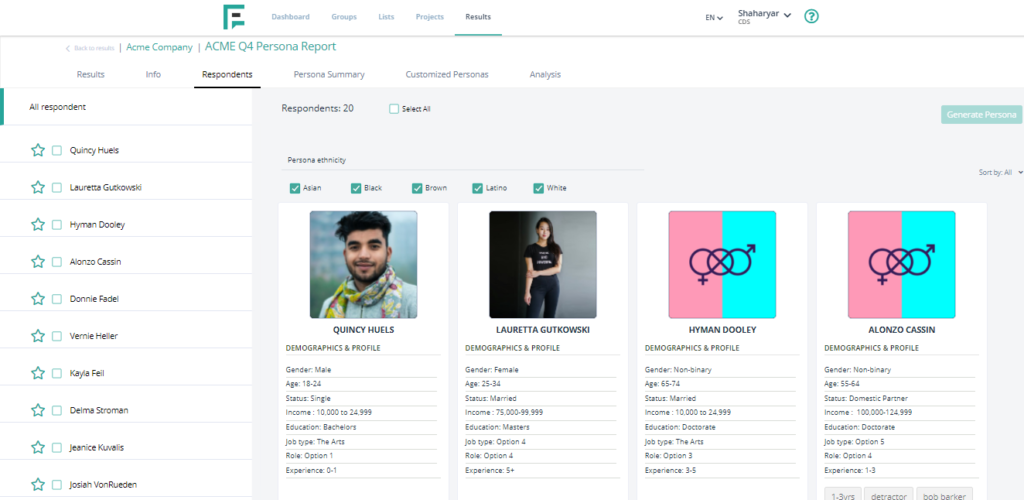
Respondents
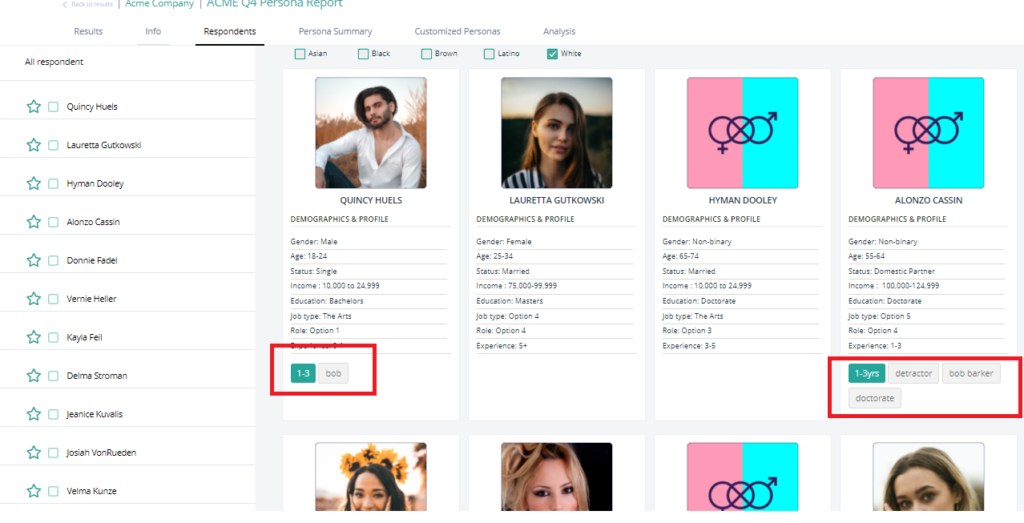
- Click Respondents, you can review the respondents profile.
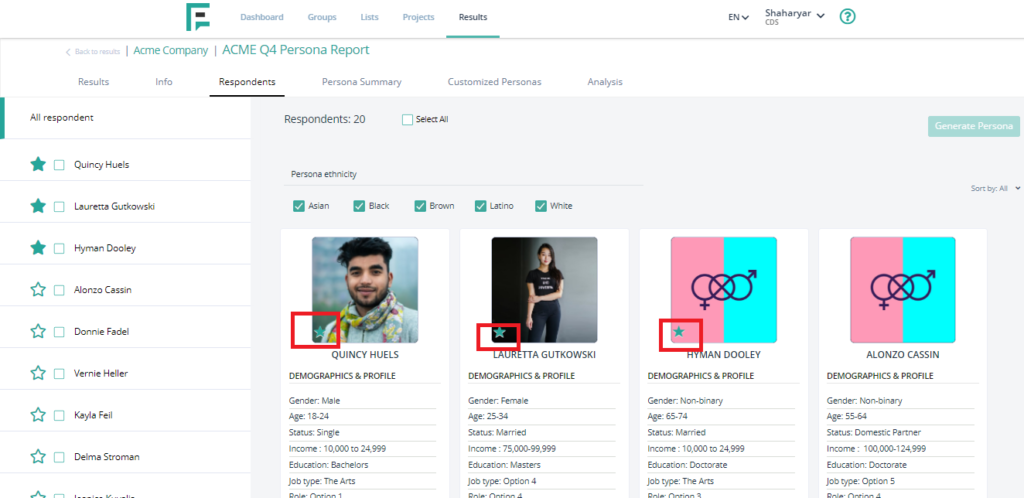
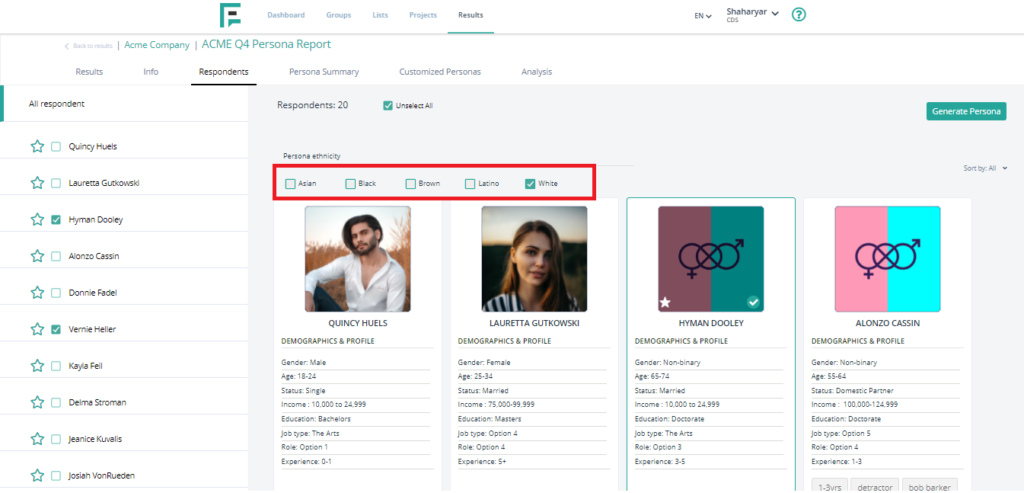
- You can mark the profiles as favorites, by clicking the star icon.
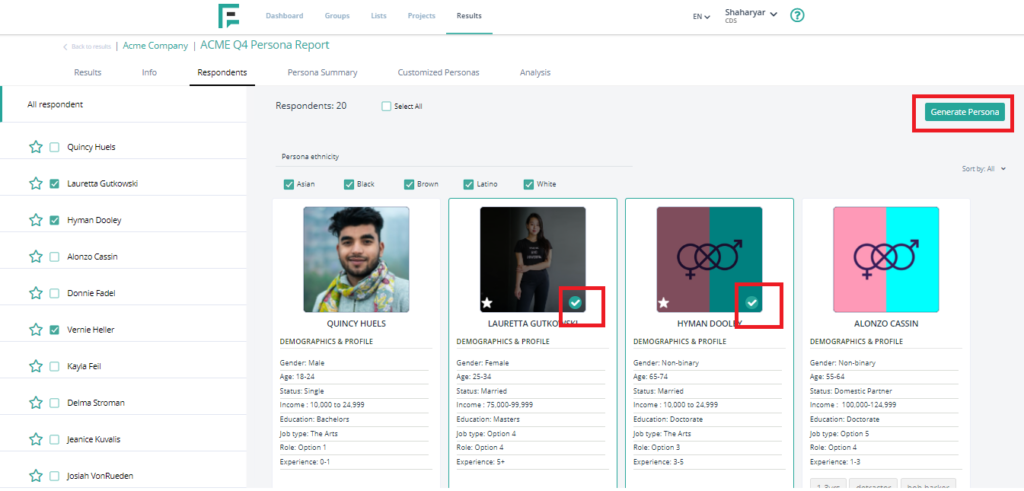
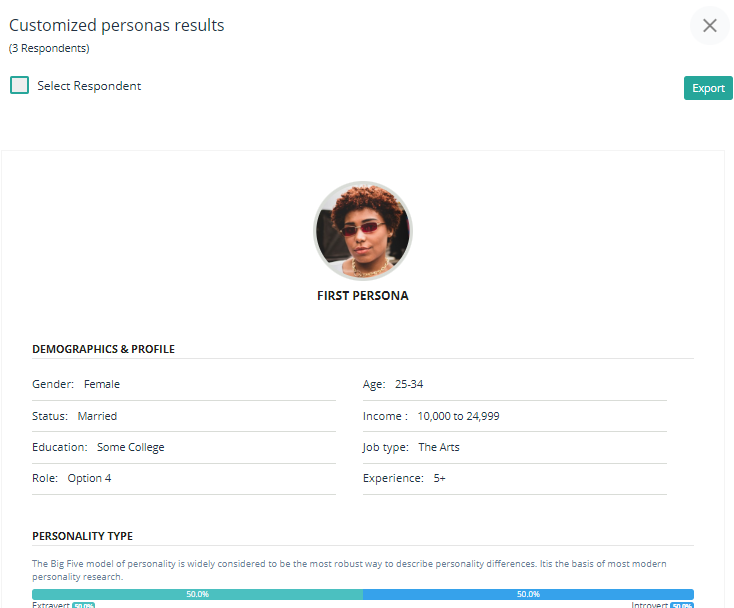
- In this section, you can also choose the specific profiles and create a persona only of the selected profiles. Just select the profile and click generate Persona from the top right corner.
- Enter the required details and click Generate.
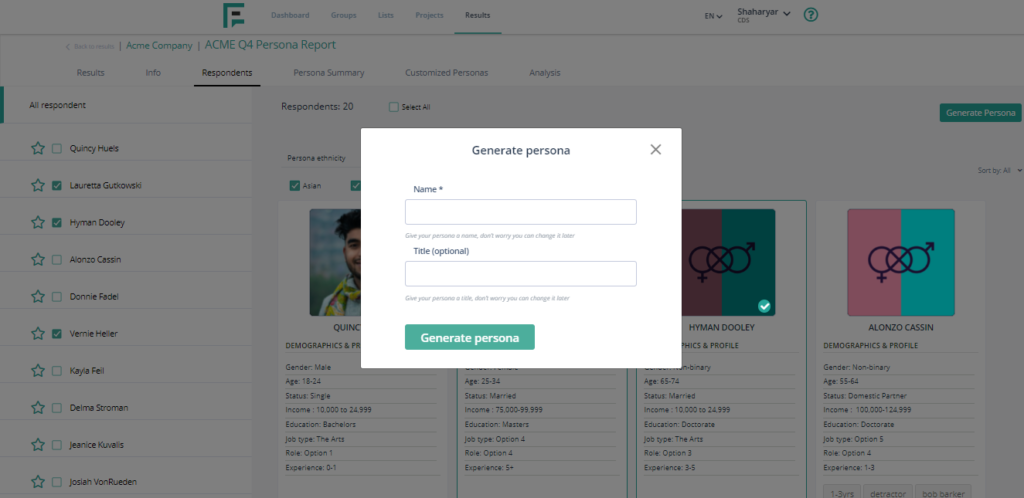
- Persona will be generated in the customize personas section.
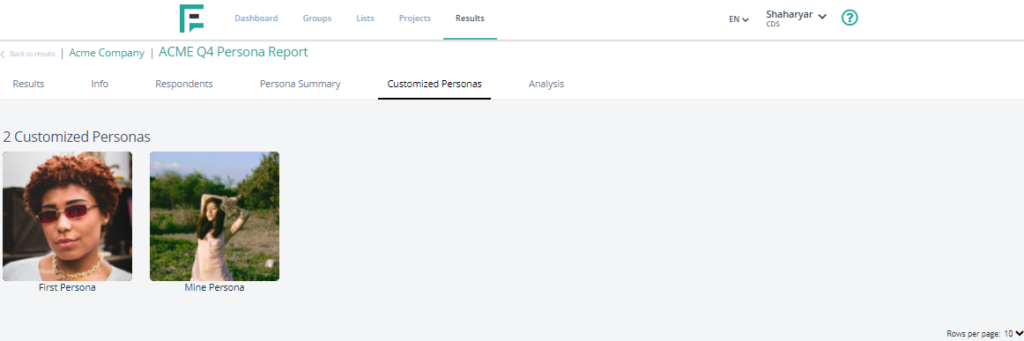
- You can view the persona by the filter mentioned on top of the list.
- You can also tag persona for labeling them as per your need. Once you are reviewing the persona, you can tag them directly from there to identify the specific respondents.
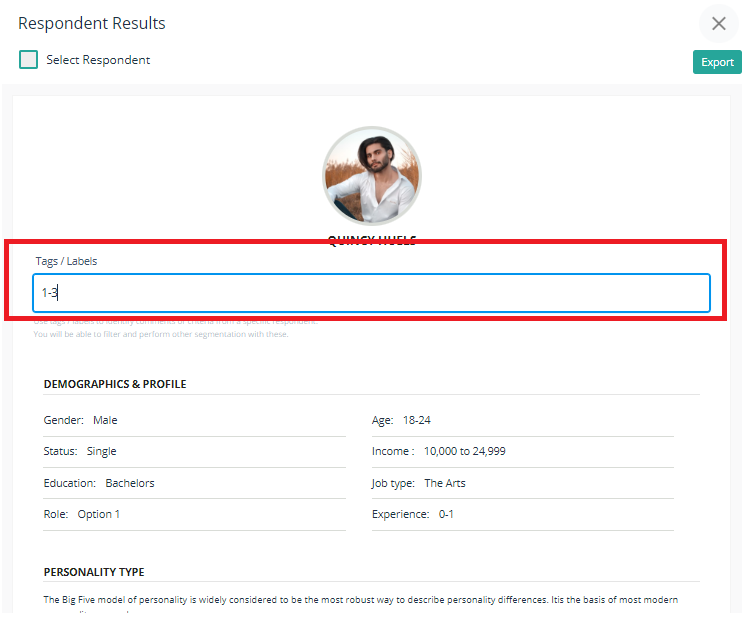
- Tags/labels can be filtered directly from there.
Personas Summary
- Click Persona Summary, you can review the detailed summary from this section.
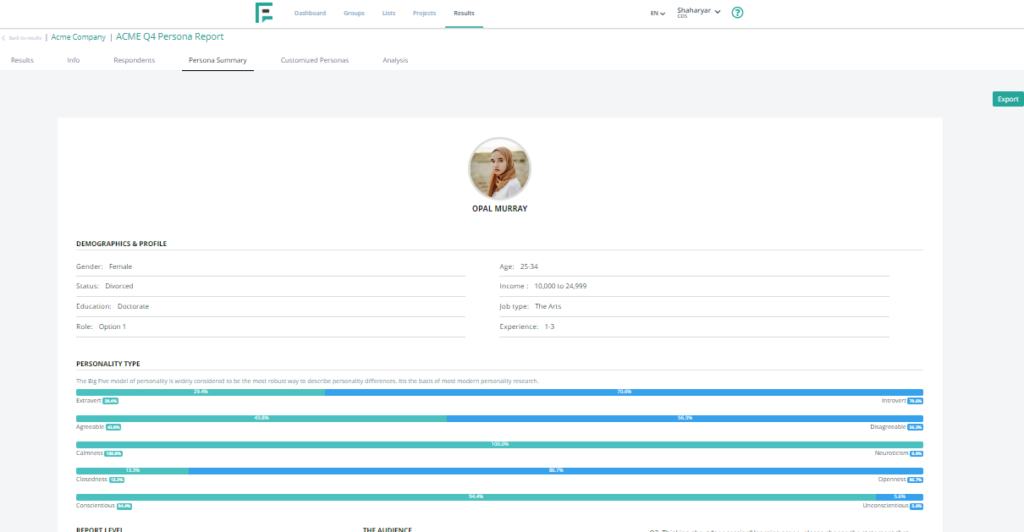
- You can also export it directly from now by clicking the Export button.
Analysis.
- Click Analysis.
- You can generate the Analysis chart from here. Choose the report categories as per your need. Then click Generate Chart.
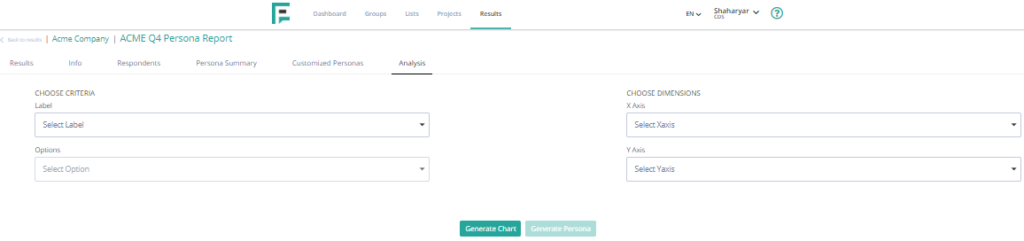
- Your chart is prepared for your review.
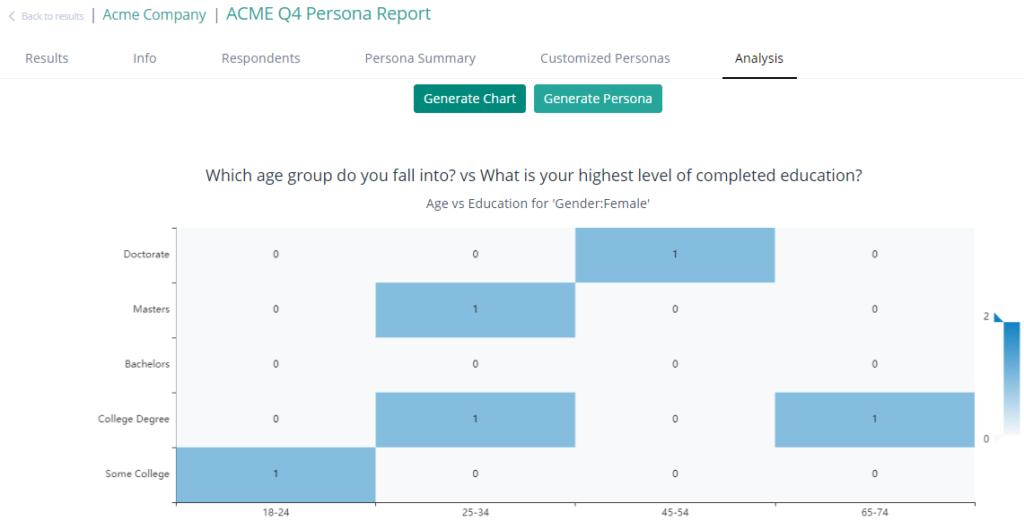
- You can also create a persona from this section by clicking on Generate Persona.

- Your persona is now available for viewing. You can either download the PDF or select the View option.