Discover how to create and manage lists on Elastic Personas with our comprehensive guide. This tutorial will walk you through the steps to efficiently organize your data, add new recipients, and customize your lists by editing names or deleting them when necessary. Perfect for keeping your audience segmented and your workflow streamlined.
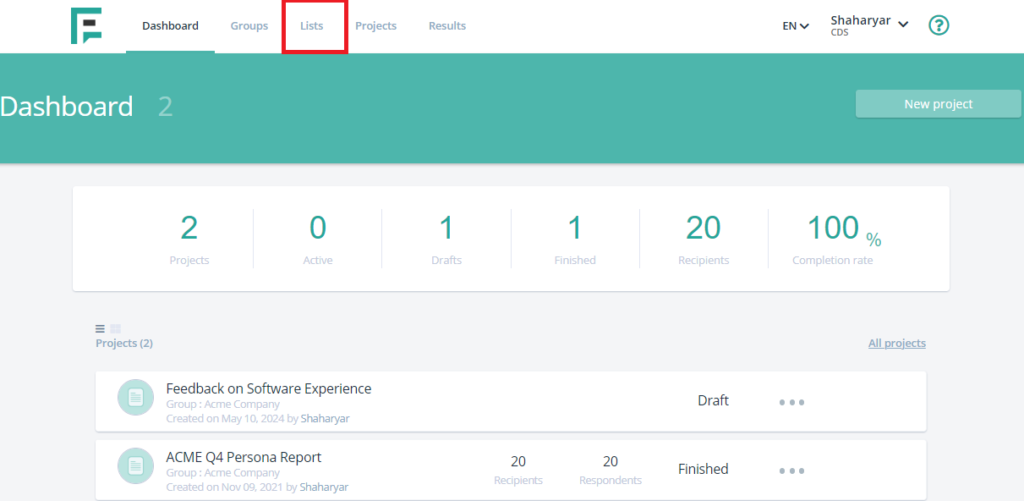
- After logging in, go to the dashboard and click the Lists option.
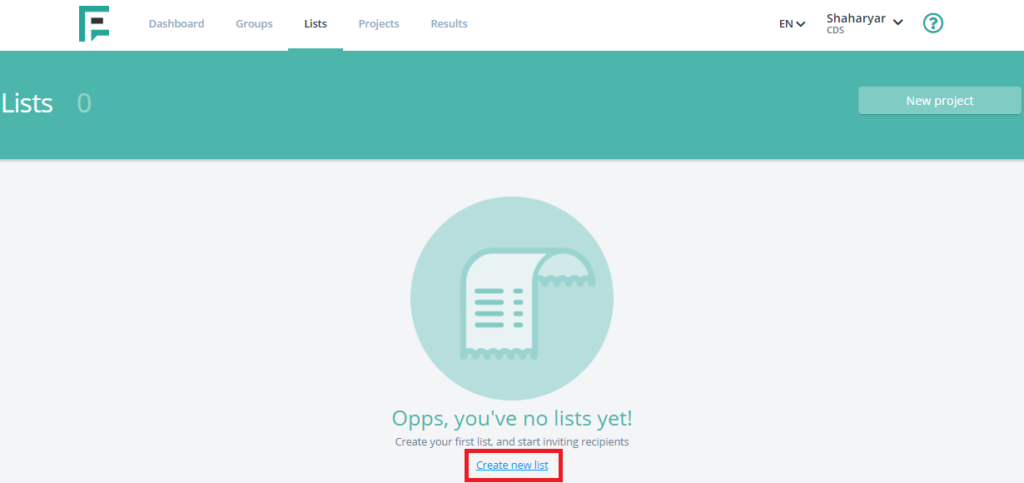
- Click the + Create New List option.
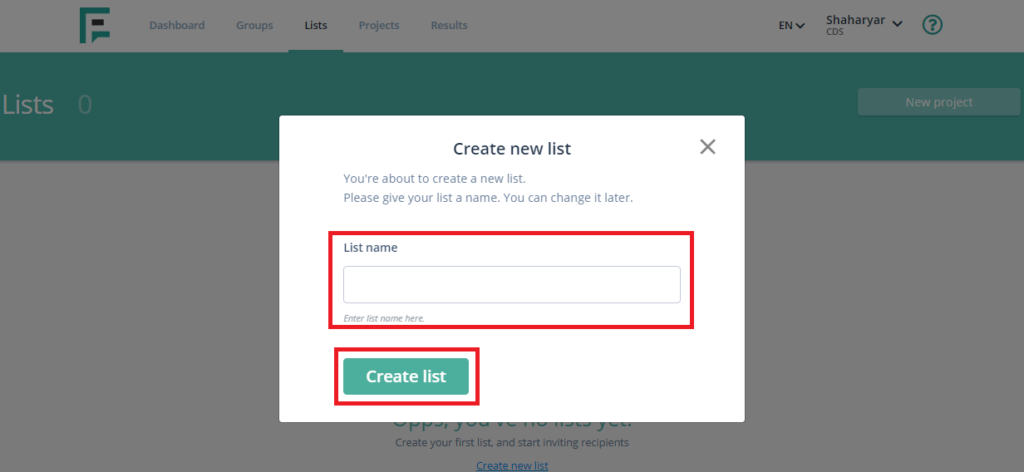
- Enter a name for your list (choose one that suits your preference).
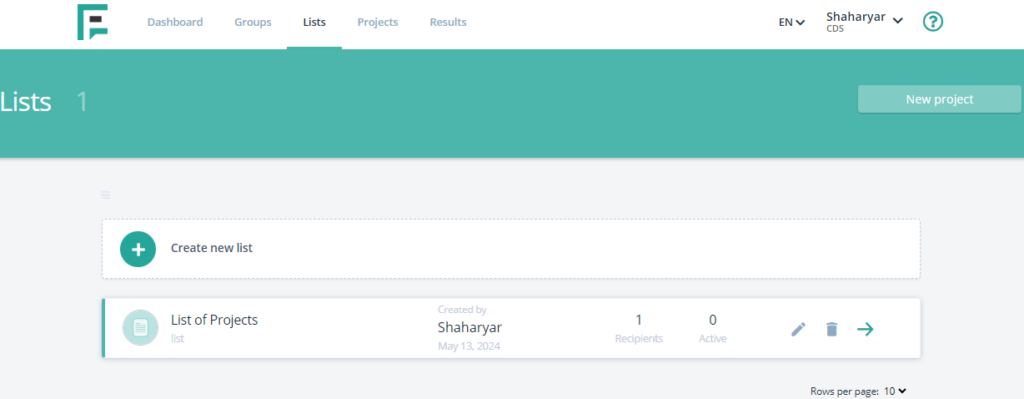
- Your list has been successfully created, and you can now add new recipients to it.
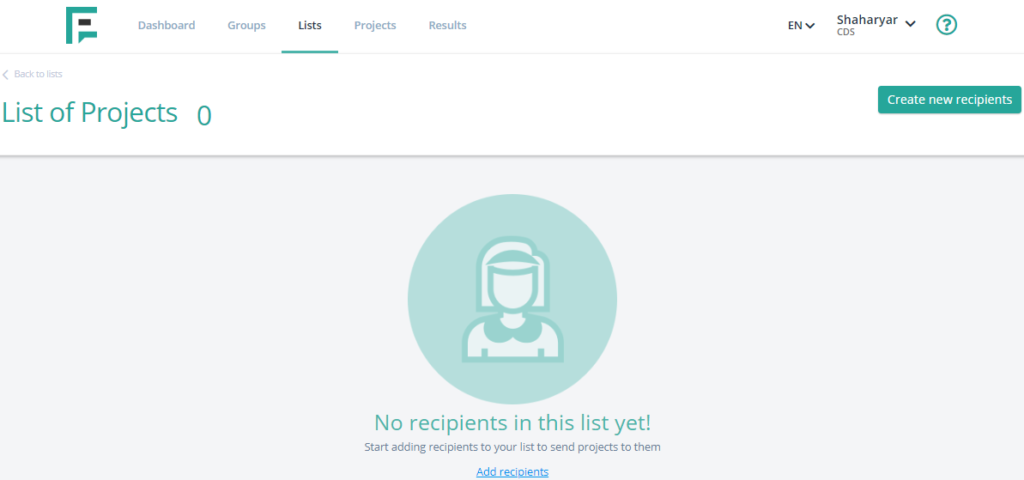
- Click the “Add New Recipients” option to start adding new recipients. You can choose to add recipients individually.

- Alternatively, you can opt to add recipients in bulk by uploading a CSV file.

- You can manage your lists using the available options in the Lists category. These options allow you to edit the list name and delete lists as needed.