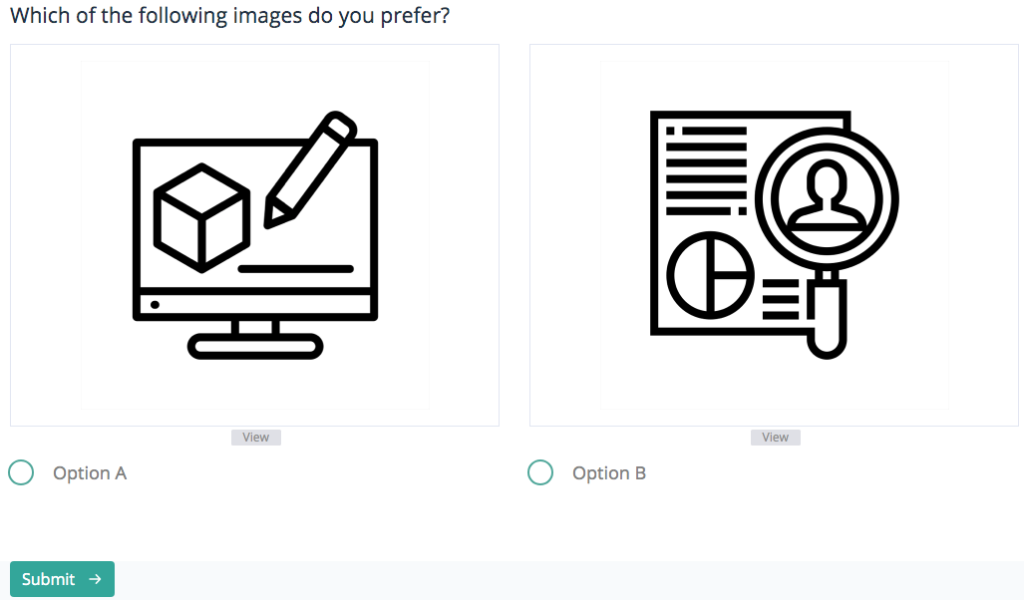
A/B Testing is a powerful tool that allows you to compare two versions of a visual to determine which one performs better. Integrating A/B Testing can provide valuable insights into user preferences and behavior. Follow these steps to seamlessly incorporate A/B Testing for visual choices in your project:
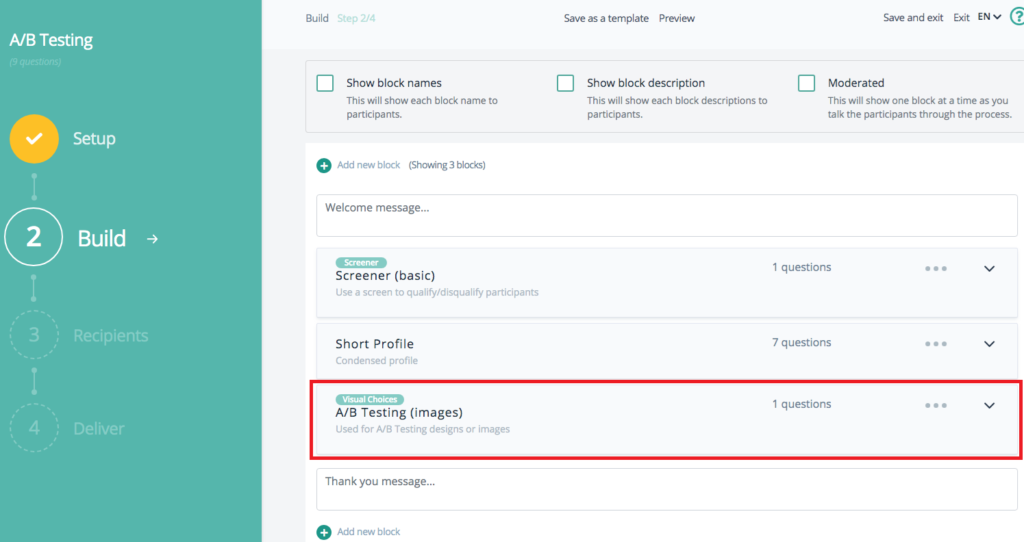
- To begin, navigate to the project template that includes A/B Testing, or if you prefer a more customized approach, add A/B Testing as a block within the Build section of your project. This flexibility ensures that you can implement A/B Testing in a manner that best suits your project’s needs.
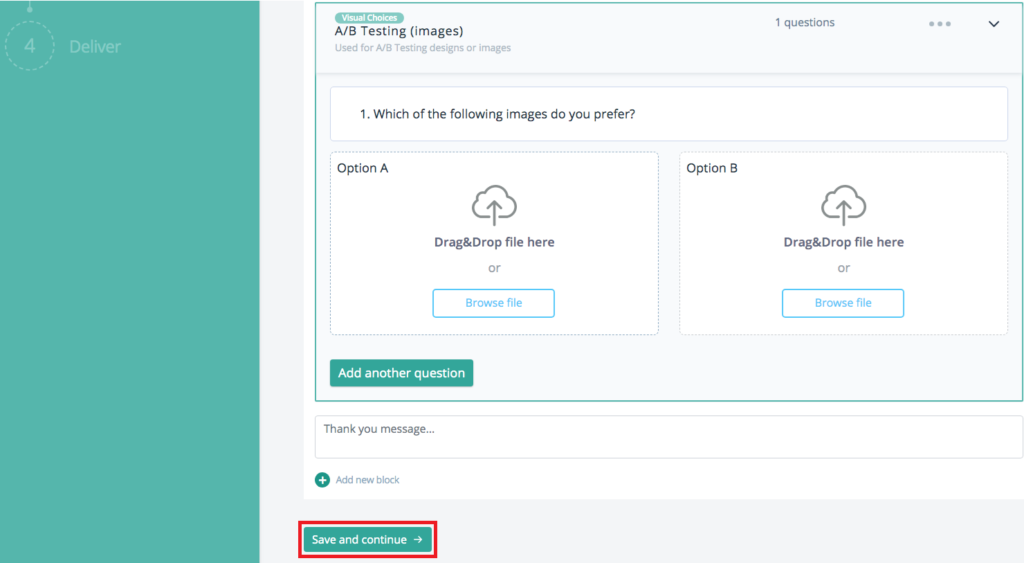
- With the “Visual Choices” block in place, it’s time to select the images you wish to A/B Test. Carefully choose the visuals you want to compare, considering factors such as design variations, color schemes, and layout differences. The images you select should be those you believe could significantly impact user engagement or perception.
- Before launching your A/B Test, preview and test the images to ensure they are displayed correctly. This step is crucial to verify that both images are presented as intended and that there are no display issues that could skew the results of your test. Take this opportunity to make any necessary adjustments to the visuals.
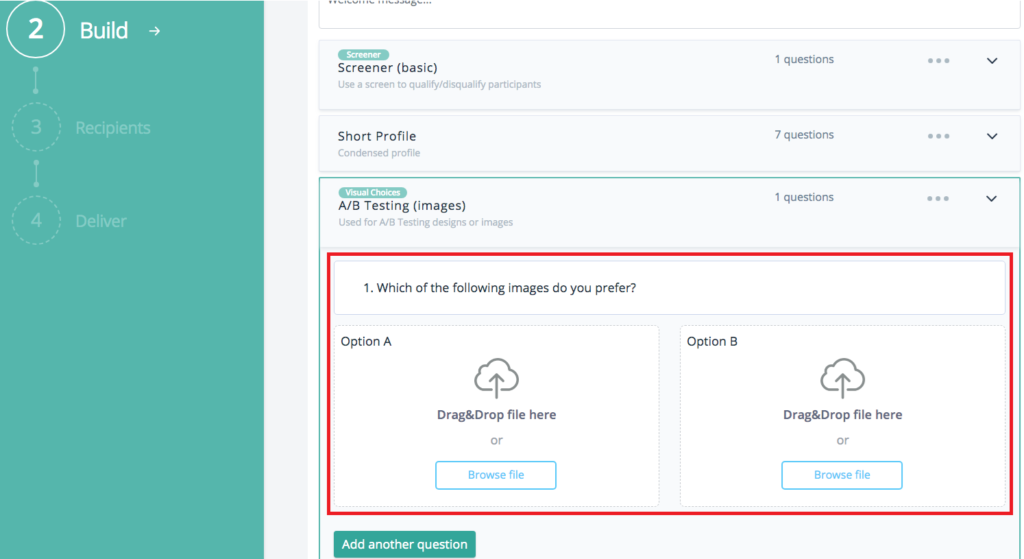
- After confirming that your images are displayed correctly, integrate the A/B Testing question and visuals into your project survey. And click Save and Continue.